
Simple Prep and Careful Application Help You Get a Clean, Even Finish
The most common mistakes with textured painting are poor surface prep, using the wrong tools, mixing the material the wrong way, and adding too much or too little texture. These problems can lead to cracks, uneven spots, and a messy finish. If you want better results in Sun City, AZ, it helps to slow down, prep well, and test your method before covering a whole wall.
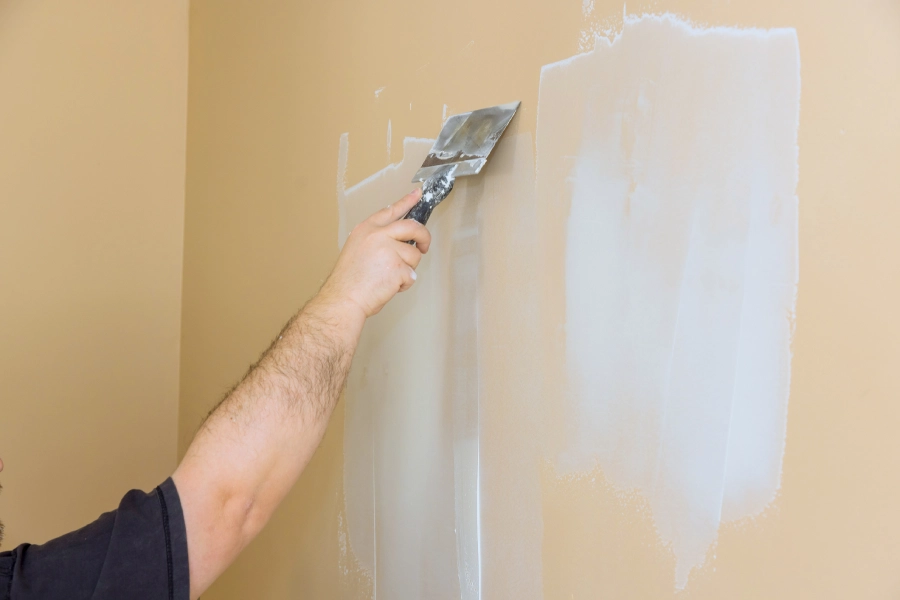
Why Prevention Matters
Textured paint can hide small wall flaws, but it also shows mistakes fast. Once the surface dries, fixing a bad patch is not always easy. That is why prevention matters so much. A few simple steps at the start can save hours of repair later. This applies to small touch-ups and full-room textured painting jobs. It also helps with any service work tied to .
People often think texture will cover every problem on a wall. That is not true. Large dents, peeling paint, dust, and grease can still show through. If the base is weak, the new finish may not stick well. Good prep gives the paint a better chance to bond and dry the right way.
Early Warning Signs
You can often spot trouble early if you know what to watch for. Some signs show up while you work. Others appear a few hours later as the paint starts to dry. Catching these signs early can help you fix small issues before they spread across the wall.
- Texture looks thicker in one area than another
- Paint drags instead of rolling or spreading smoothly
- Clumps form in the tray or bucket
- Edges start drying before the middle section
- Old paint peels up under the new coat
- Cracks or flaky spots appear after drying
If you notice any of these issues, stop and check the surface, tools, and paint mix. Many texture problems start small and get worse when people keep going.

Seasonal or Routine Checklist
Room conditions can affect textured painting more than people expect. Heat, cold, and humidity all change how paint dries. A basic checklist can help you avoid common setbacks before you open the can.
- Clean the wall well and let it dry fully.
- Patch holes and sand rough spots.
- Prime repaired areas if needed.
- Stir the paint slowly and fully.
- Test the texture on a sample board.
- Use the right roller, brush, or hopper tool.
- Work in small sections to keep a wet edge.
- Check room temperature and air flow.
- Protect floors, trim, and nearby furniture.
- Let each coat dry before adding another.
This routine keeps the job simple and helps reduce waste. It also makes the finish more even from one wall to the next.
Best Practices for Long-Term Results
If you want the texture to last, focus on even application and drying time. One of the best ways to get a steady look is to keep your hand pressure the same. Pressing hard in one spot and light in another can create a patchy pattern. That is a common problem with rollers and texture brushes.
Another good habit is to mix enough material for the full wall when possible. If you mix small batches at different thickness levels, the texture may not match from one area to another. Always test the pattern first. A sample area can show if the mix is too thin, too thick, or too rough.
It also helps to use quality tools that fit the finish you want. Foam rollers, nap rollers, texture combs, and spray hoppers all leave different results. Using the wrong tool can ruin the look, even if the paint itself is fine. For larger textured painting projects, planning your pattern ahead of time can make the whole room look more balanced.
What Not to Do
Many problems come from rushing. People skip prep, guess on dry time, or go back over paint that has already started to set. That can tear the surface and create ugly marks. Below are some of the biggest mistakes to avoid.
- Do not paint over dust, grease, or loose paint
- Do not skip patching deep holes or cracks
- Do not overmix until the material gets full of bubbles
- Do not add too much water unless the label says it is okay
- Do not switch tools in the middle of one wall without testing
- Do not stop halfway across a large open area
- Do not apply heavy texture on weak drywall
- Do not repaint too soon before the first coat dries
One more mistake is trying to fix every spot while the finish is half-dry. Small touch-ups often stand out more after drying. In many cases, it is better to let the wall dry, sand lightly if needed, and then recoat the full section.
When to Schedule Professional Help
Some jobs are harder than they look. High ceilings, large rooms, damaged drywall, and matching old texture can all be tricky. If the wall has water damage or past repairs, the final finish may come out uneven unless the base is fixed first. Older homes may also have many patched areas that need extra prep.
Professional help can also make sense when time matters. A team can often spot risks early, use the right equipment, and keep the pattern more consistent across the room. That matters a lot when the goal is a clean finish that blends well with the rest of the home.
Get Help With Your Next Project
If you are planning a wall update in Sun City, AZ, we can help you avoid common textured painting problems and aim for a smoother result. Contact Amazing Painting Contractors to talk about the space, the finish you want, and the best next step. You can also call us at (623) 253-4278 if you would like help from our team.